Bismarck’s Last Voyage: From the Fjord to the Final Battle
Period
1940 prelude; 21–27 May 1941
Place
Hamburg, Norway and the North Atlantic
Eight archival photographs trace Bismarck from a 1940 portrait through the May 1941 pursuit, carrier strikes and final battle to the rescue of survivors.
A ship seen clearly beside a wooded shore becomes a pale mark in a reconnaissance photograph, then a silhouette under gun smoke. This gallery follows Bismarck’s changing appearance through eight archival images. It opens with a 1940 view near Hamburg to establish what the ship looked like before her Atlantic operation; the remaining photographs belong to May 1941.
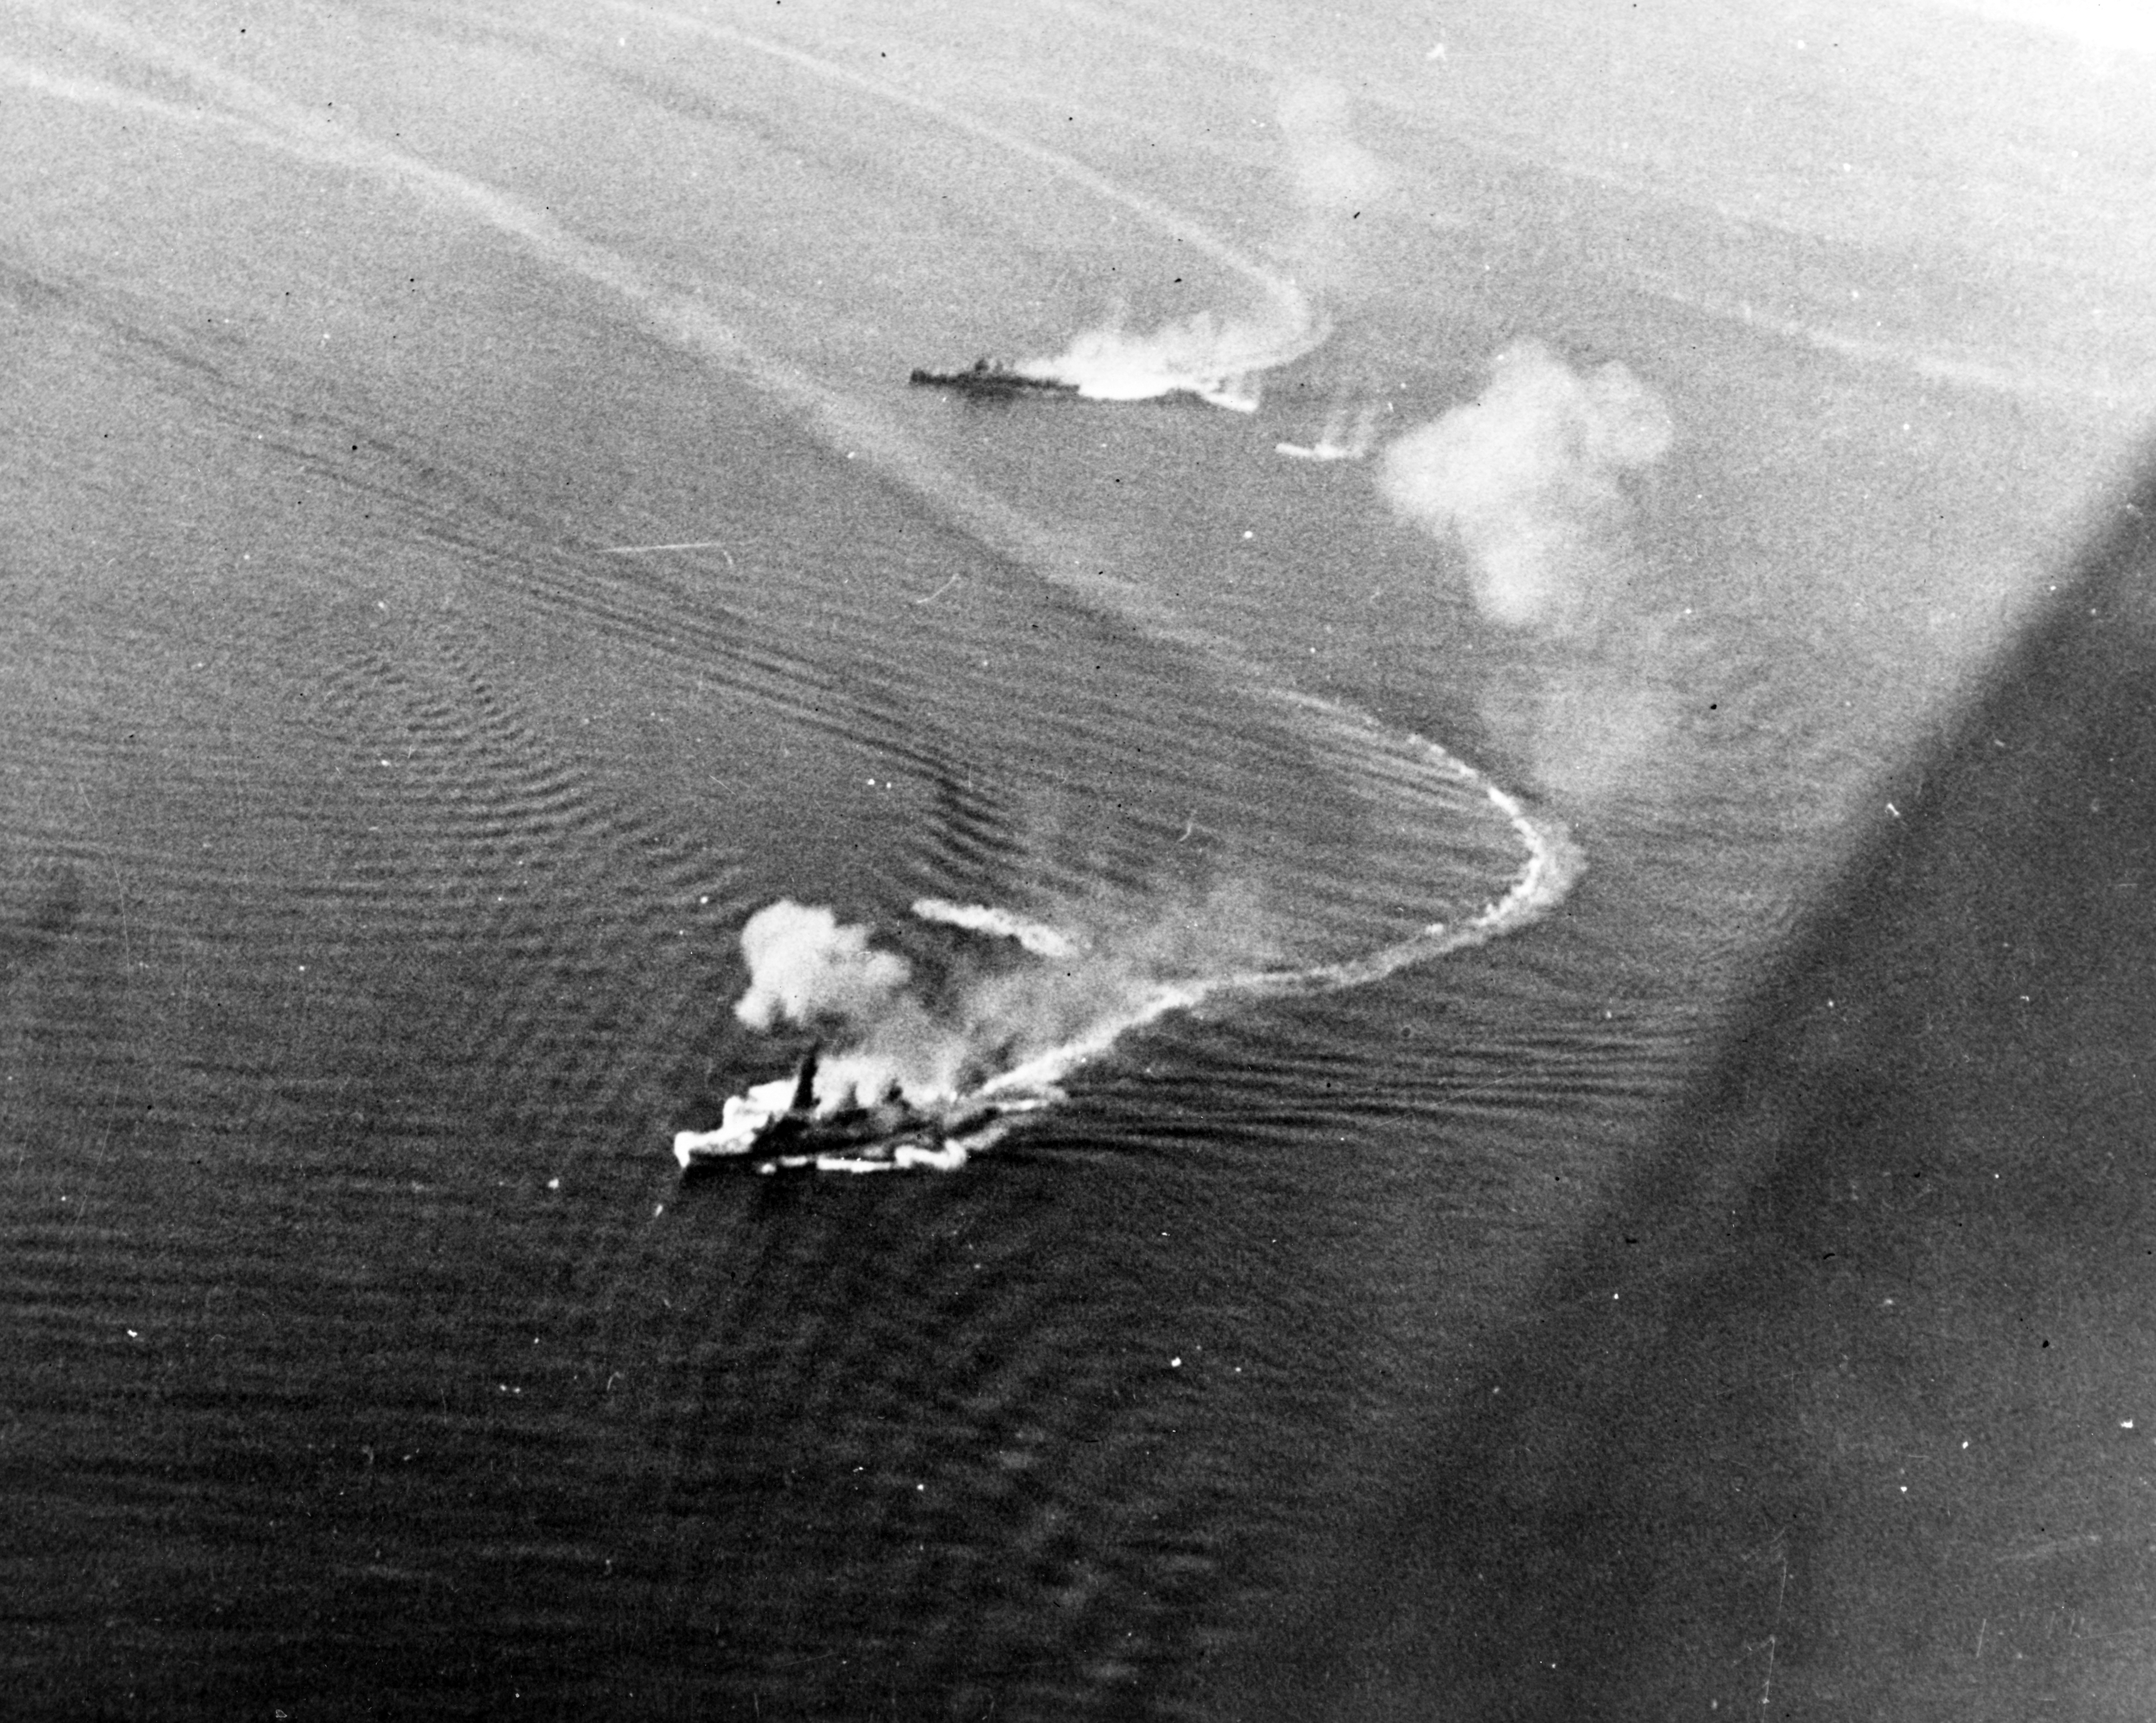
Bismarck and the heavy cruiser Prinz Eugen were attempting to reach the Atlantic shipping routes. Their encounter with Hood and Prince of Wales on 24 May turned the operation into a pursuit. Hood was lost, Bismarck was damaged, and carrier aircraft became crucial to the attempt to prevent the German battleship reaching occupied France. The sequence distinguishes the attack launched from Victorious during the night of 24–25 May from the Ark Royal strike on 26 May that disabled Bismarck’s steering. It ends on 27 May, first at a distance during the final battle and then beside the men being rescued.
These photographs are evidence with limits. Gun smoke does not identify a particular hit; a ship’s exterior does not reveal flooded compartments; the returning aircraft is not proof of which crew caused the decisive damage. Each caption separates what is visible from the wider history. Exact dates are retained where the archive provides them, and the Ark Royal photograph keeps its broader May 1941 date. The photographs remain in their supplied black-and-white form, without AI reconstruction or modern colorization.
The image records come from the Bundesarchiv and Imperial War Museums through Wikimedia Commons. Historical context was checked against Royal Museums Greenwich’s Bismarck and Hood records, the Naval History and Heritage Command’s account of the pursuit, and the Royal Navy’s accounts of the 26 and 27 May actions. Individual source links, archive identifiers and reuse terms are available in each photograph’s credits.
Topic: Bismarck and the Battle of the Atlantic
01 / 08
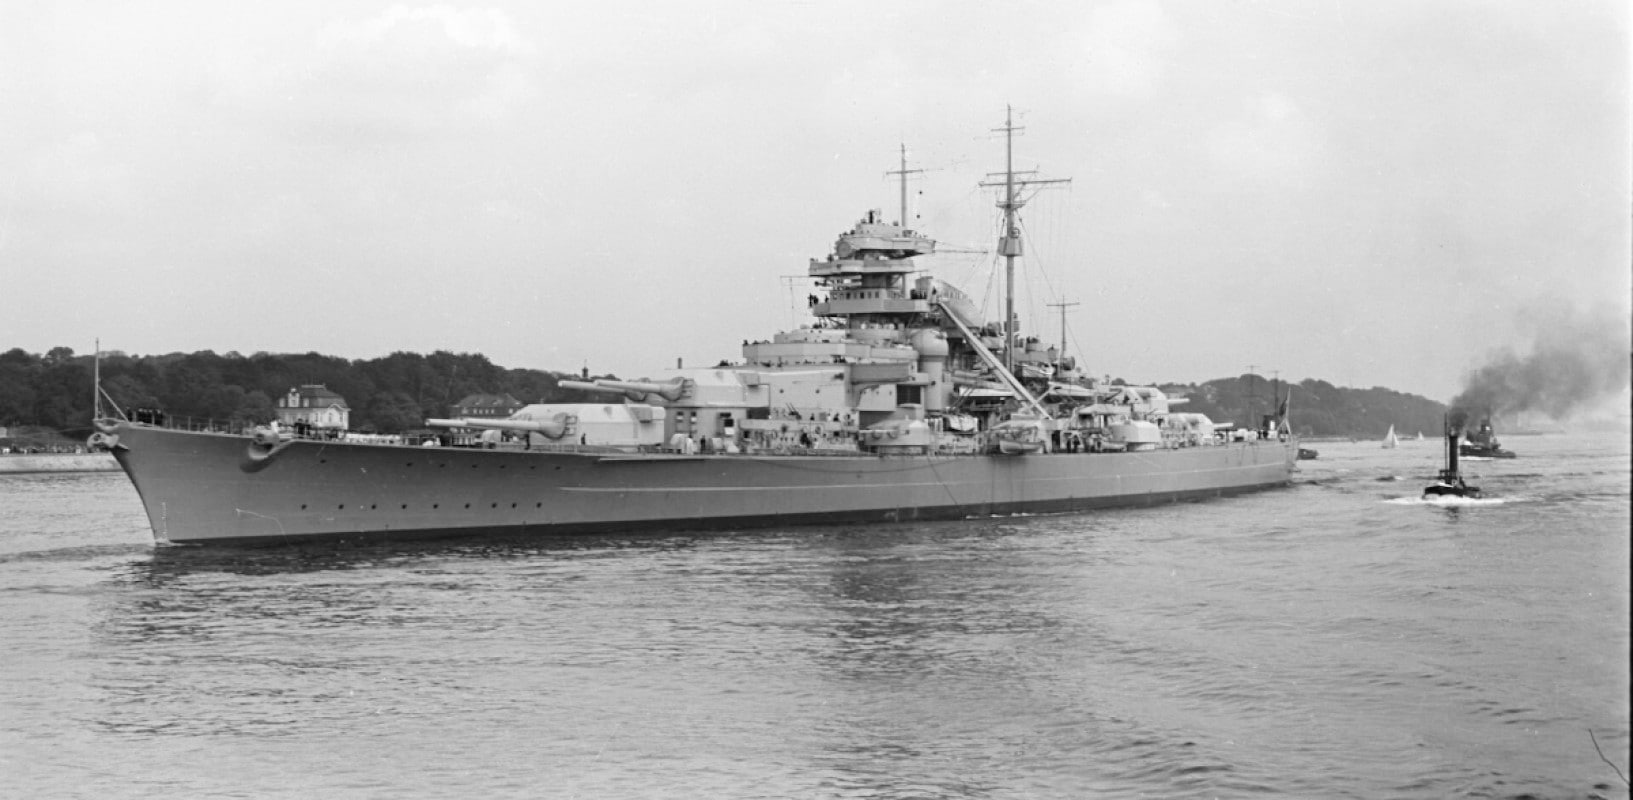
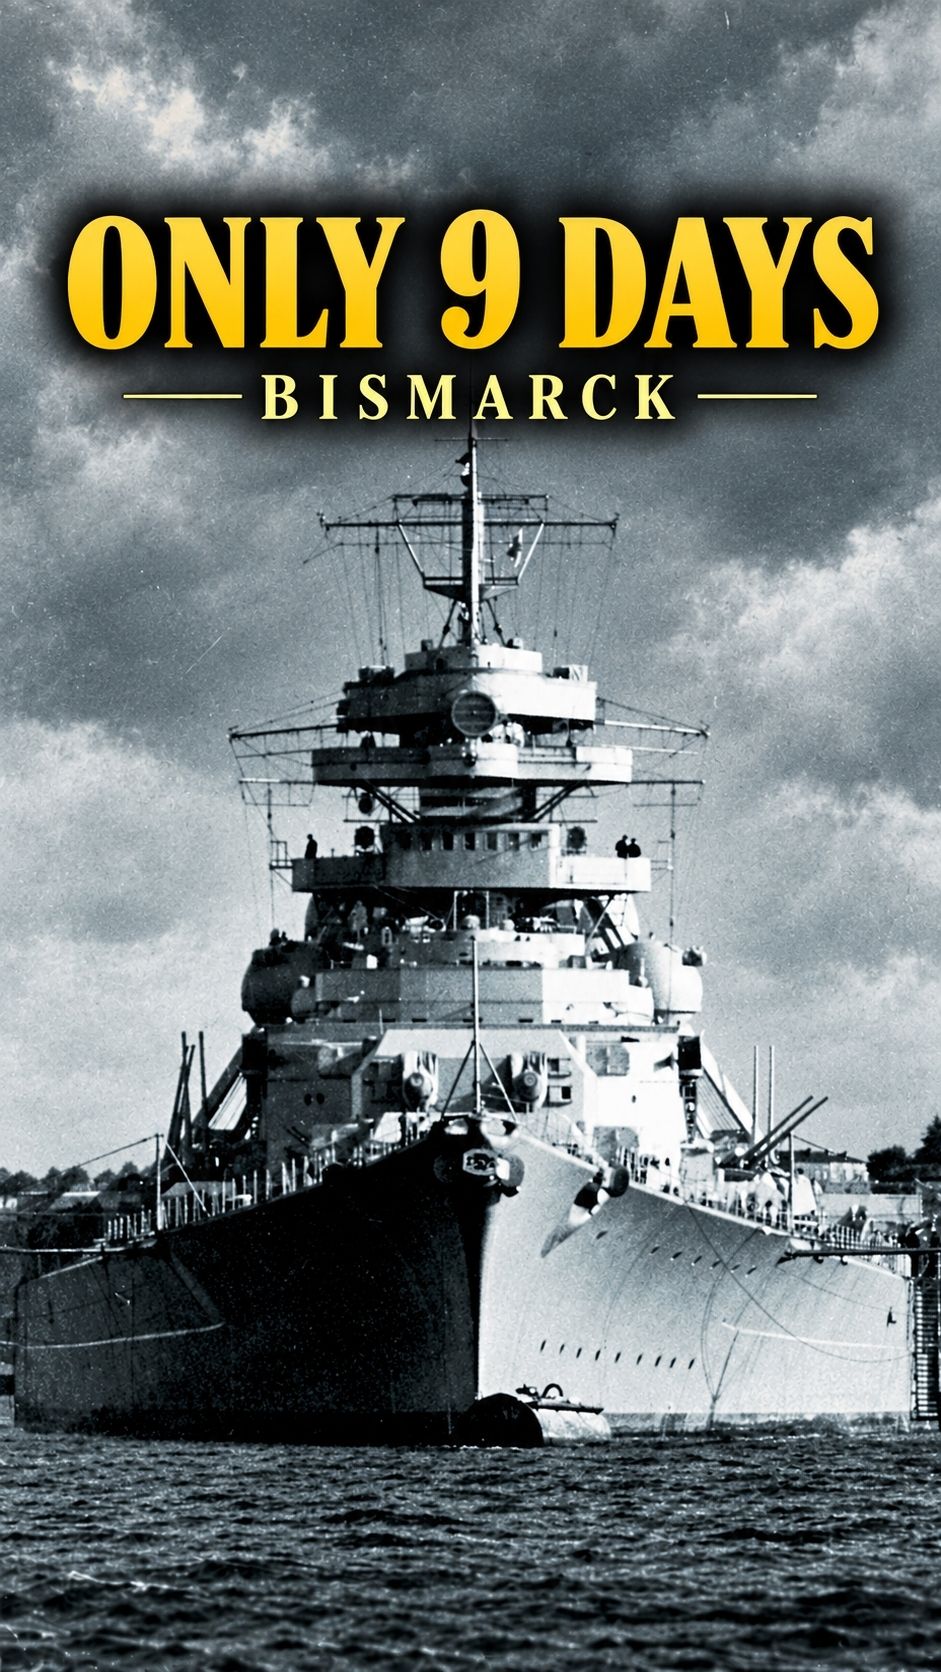
Before the Atlantic: Bismarck off Blankenese, 1940
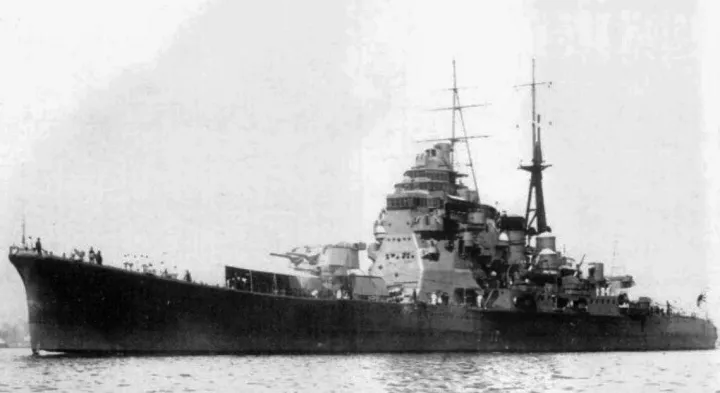
Bismarck passes the wooded shore at Blankenese with small tugs near her stern. The clear view makes the ship’s arrangement easy to read: two main turrets forward, a tall bridge, and further gun positions extending aft. The Bundesarchiv dates this photograph to 1940, so it is a prelude to the gallery, not a picture of the May 1941 departure. Its sheltered water also differs sharply from the rough seas in the later frames. Begin here with the whole ship in view; during the Atlantic operation, distance, smoke and weather repeatedly reduce that imposing outline to a difficult shape on the horizon.
CC BY-SA 3.0 Germany. Attribution and the same license apply to this displayed image and its resized derivatives. Wikimedia Commons documents prior brightness and cleanup adjustments. Historium retains the supplied framing; no AI reconstruction or colorization.
Bundesarchiv, Bild 193-04-1-26 / CC-BY-SA 3.0 DE. Commons restoration by Hohum. Historium: resizing and JPEG/WebP compression; no recoloring.
02 / 08
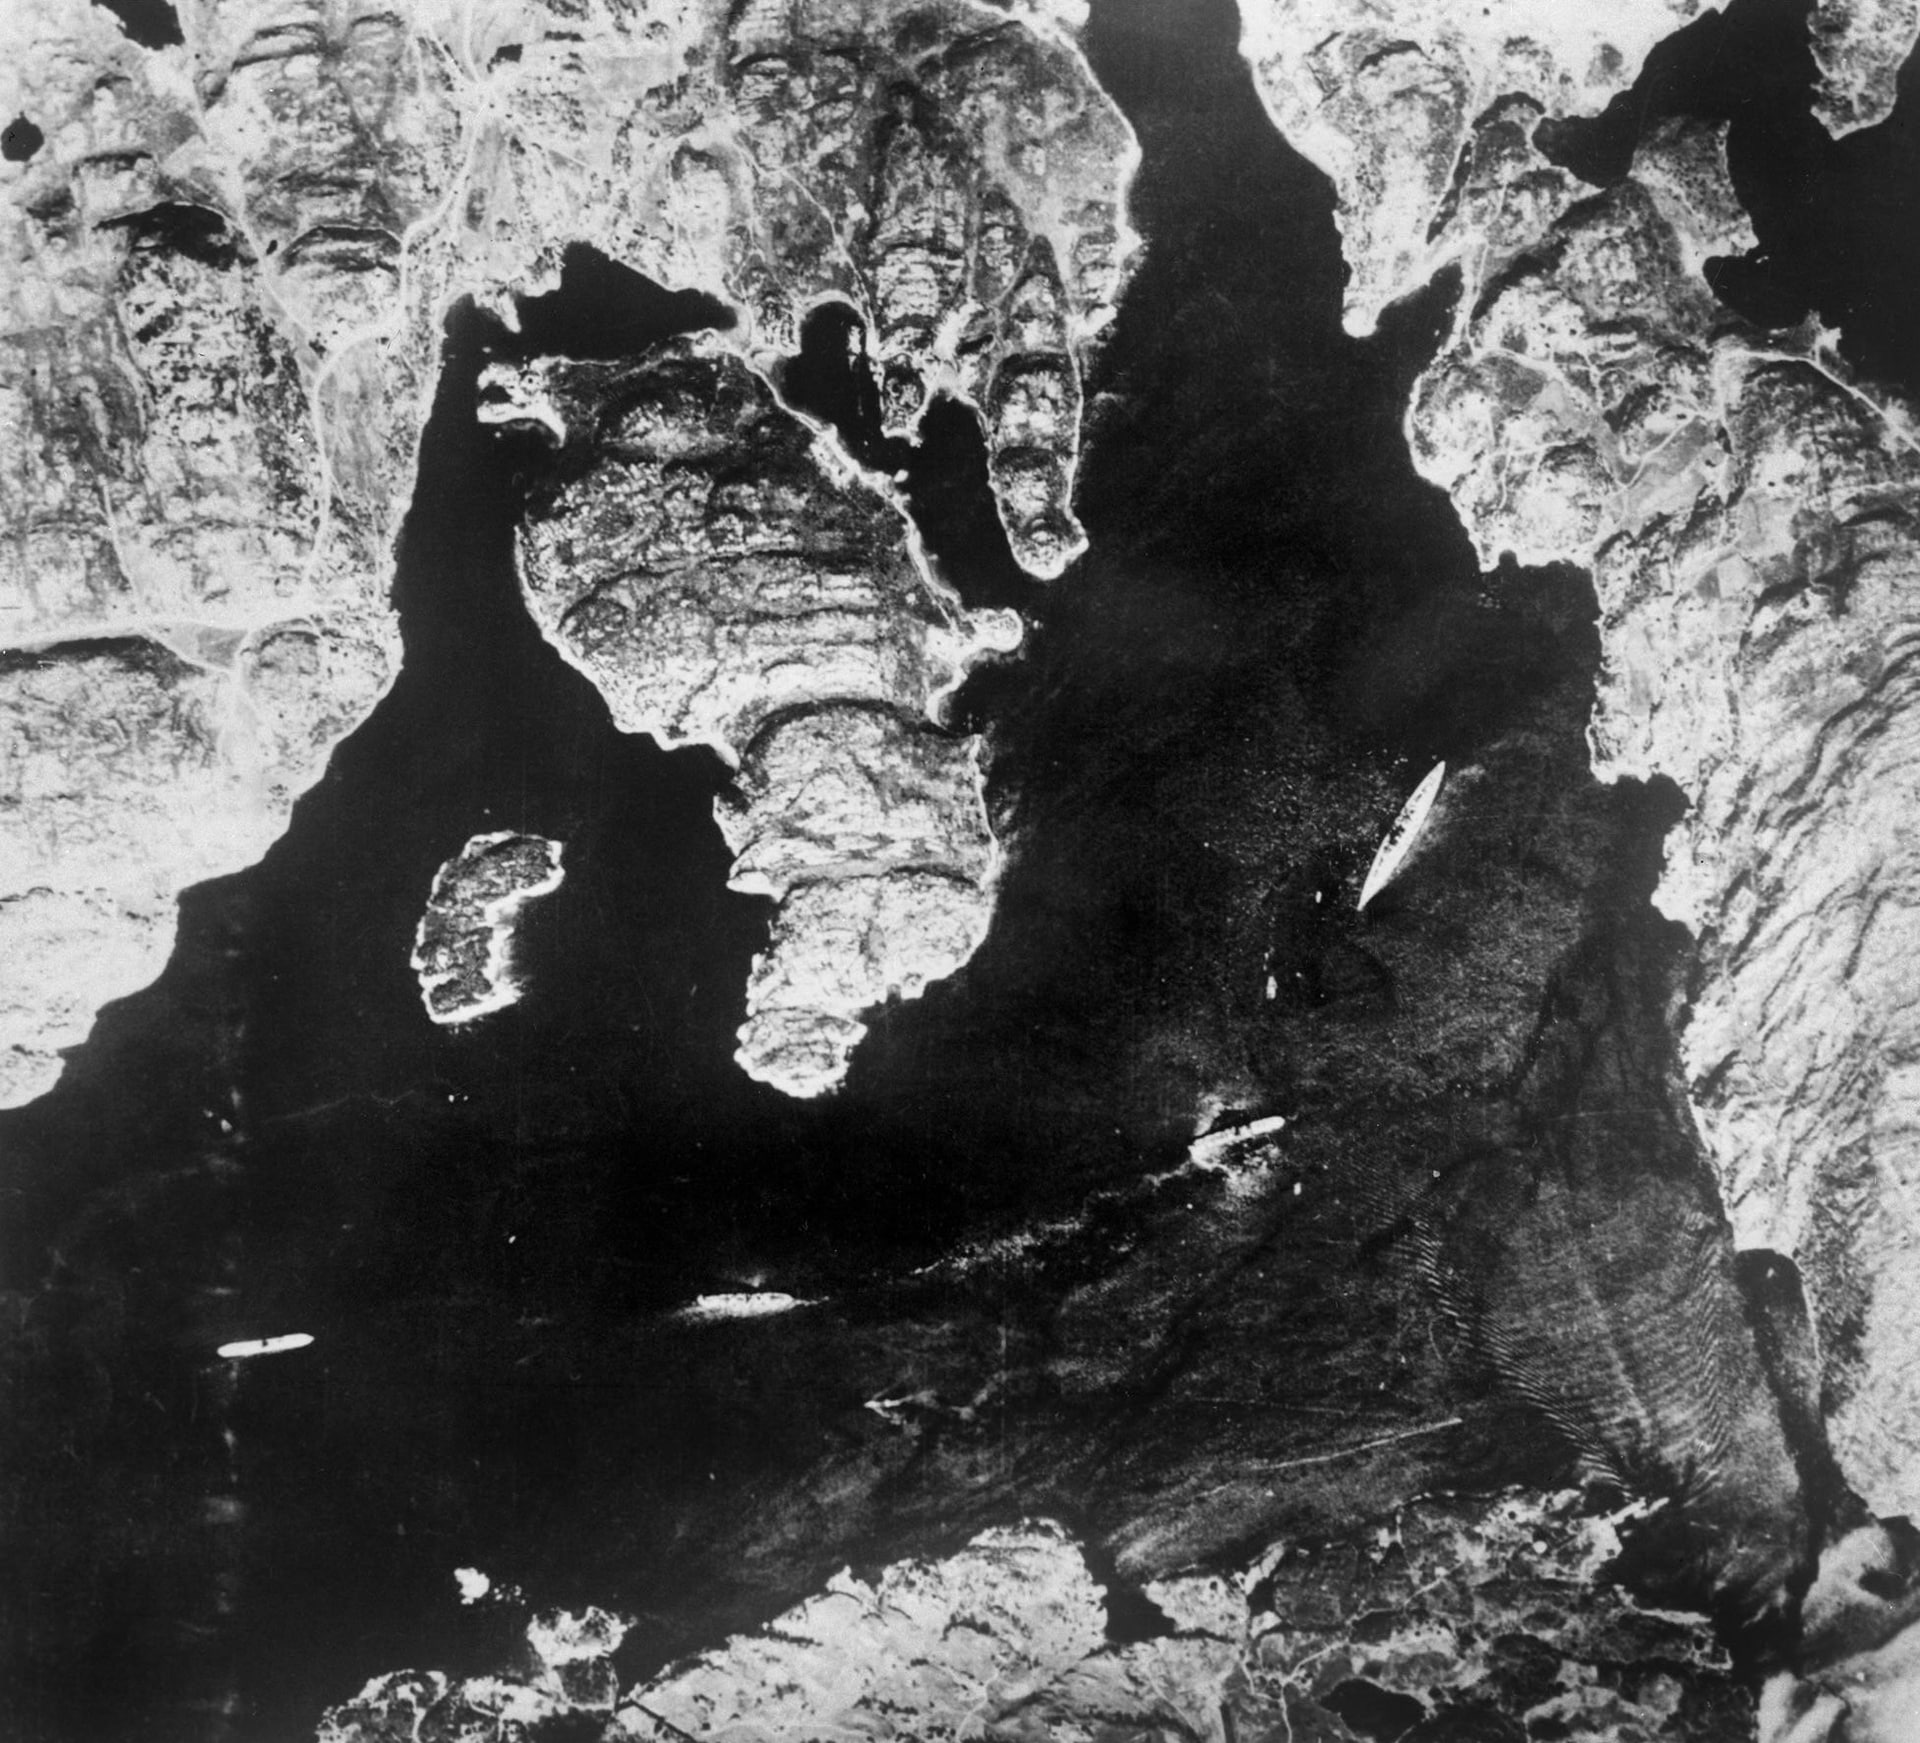
21 May: a battleship becomes an intelligence photograph
Among the dark inlets and pale, folded coastline, Bismarck is the long light shape toward the right of the frame. Flying Officer Michael Suckling photographed the ship near Bergen on 21 May 1941. Unlike the opening portrait, this picture was useful precisely because it placed the battleship within a recognizable landscape. A sighting near Norway helped the British follow the German force’s move toward the Atlantic, although finding a ship at anchor did not mean keeping contact once she put to sea. The photograph preserves that brief certainty: a location, a date, and a target large enough to distinguish from the smaller vessels nearby.
Public domain under the expired UK Crown copyright status documented on this file’s Wikimedia Commons licensing record (PD-UKGov). The named photographer and archive identifier are retained. No historical elements have been added.
Michael Suckling / Royal Air Force; Imperial War Museums, CS 159. Digital copy via Wikimedia Commons. Historium: resizing and JPEG/WebP compression.
03 / 08
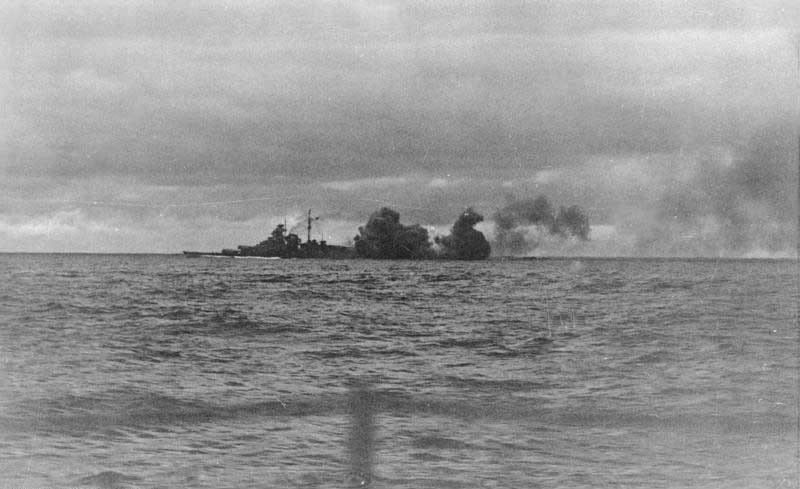
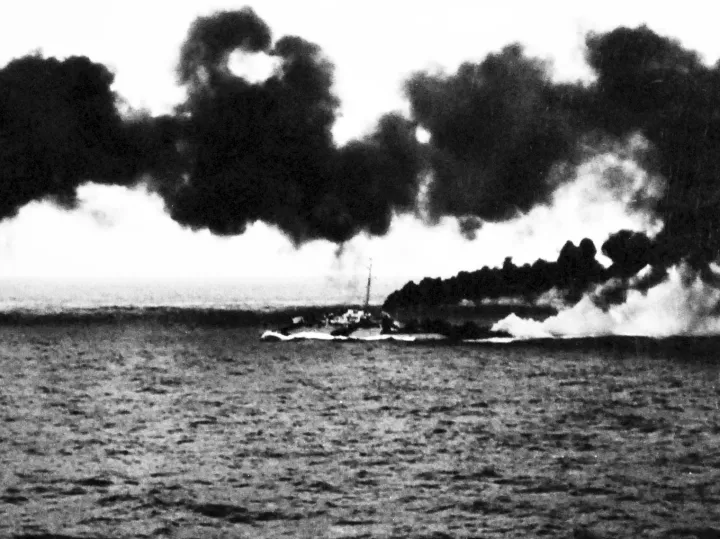
24 May: gunfire in the Denmark Strait
Dark clouds of gun smoke interrupt Bismarck’s silhouette as the battleship fires in the Denmark Strait. The archive credits the photographer as Lagemann and dates the exposure to 24 May 1941, when Bismarck and Prinz Eugen fought Hood and Prince of Wales. Hood was destroyed in the engagement; only three of her crew survived. This frame records Bismarck firing, but it does not identify which salvo struck Hood or show the shell’s path. That distinction matters when reading combat photographs: the camera can establish an action and a setting without resolving every event taking place beyond its field of view.
CC BY-SA 3.0 Germany. Attribution and the same license apply to this displayed image and its resized derivatives. This is an archival photograph, not a painting or modern colorization. No enlargement beyond the source resolution.
Bundesarchiv, Bild 146-1968-015-25 / Lagemann / CC-BY-SA 3.0 DE. Historium: resizing and JPEG/WebP compression; framing retained.
04 / 08
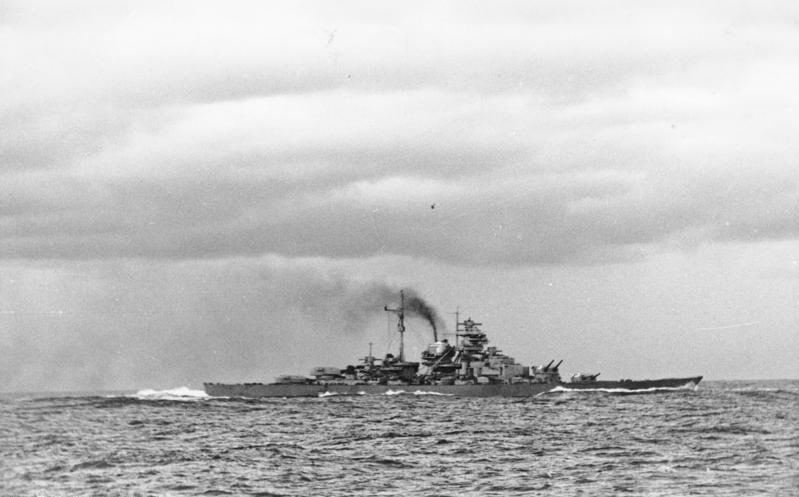
24 May: a victory that did not leave Bismarck unharmed
The ship is visible again, steaming across the frame beneath a trail of funnel smoke. The Bundesarchiv identifies this as Bismarck after the Denmark Strait engagement. Hood’s loss had been catastrophic for the Royal Navy, but Prince of Wales had also hit the German battleship. Damage and disrupted fuel supplies helped force a change of objective: Bismarck headed toward occupied France rather than continuing the planned attack on Atlantic shipping. The image cannot show the condition of tanks or compartments below the waterline. Its apparently orderly silhouette is a reminder that a warship could still look formidable while facing problems that narrowed every subsequent choice.
Photo details
Date
24 May 1941 — after the Denmark Strait engagement
Location
North Atlantic, following the Battle of the Denmark Strait
CC BY-SA 3.0 Germany. Attribution and the same license apply to this displayed image and its resized derivatives. The original archive caption is treated as a historical record, not reproduced as editorial narration. No enlargement beyond the source resolution.
Bundesarchiv, Bild 146-1984-055-14 / Lagemann / CC-BY-SA 3.0 DE. Historium: resizing and JPEG/WebP compression; framing retained.
05 / 08
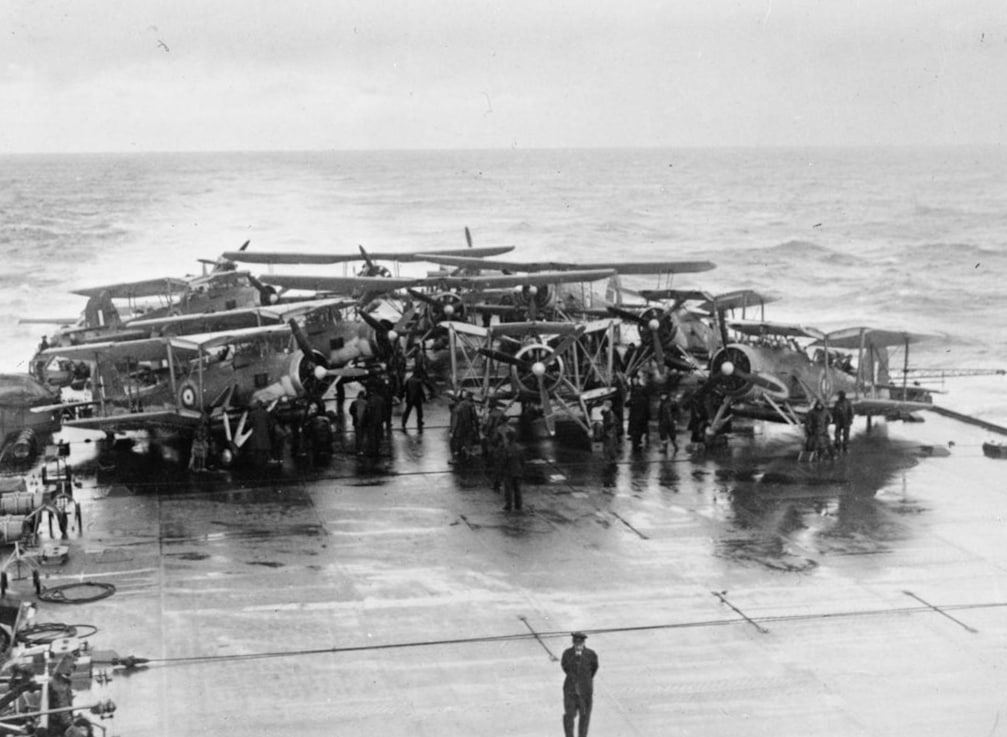
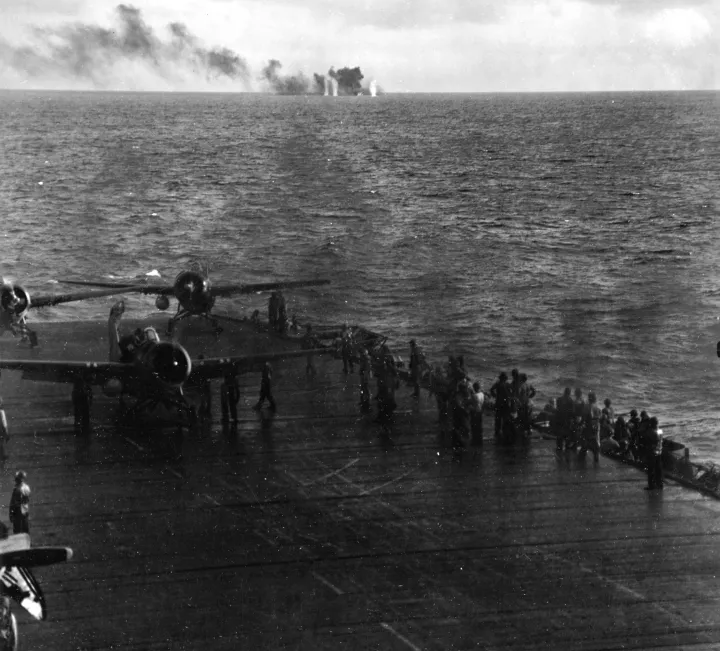
24 May: Swordfish waiting on Victorious
Folded wings, propellers and ground crews crowd the flight deck of HMS Victorious. The photograph is dated 24 May, before the carrier’s Swordfish attacked Bismarck during the night of 24–25 May. That attack achieved a torpedo hit without stopping the German ship. It should not be confused with the later strike from Ark Royal that disabled Bismarck’s steering. The deck scene supplies the working half of the aerial chase: aircraft had to be prepared and launched from a moving ship, then find their target across a large area of ocean. The men standing between the machines give that process a human scale.
Photo details
Date
24 May 1941 — before the overnight attack
Location
Flight deck of HMS Victorious, North Atlantic
Photographer
Photographer unidentified; attributed to the Royal Navy in the source record
Public domain under the expired UK Crown copyright status documented on this file’s Wikimedia Commons licensing record (PD-UKGov). The record does not name an individual photographer. Attribution is preserved without assigning an invented author.
Imperial War Museums, A 4090; photographer not individually identified. Digital copy via Wikimedia Commons. Historium: resizing and JPEG/WebP compression.
06 / 08
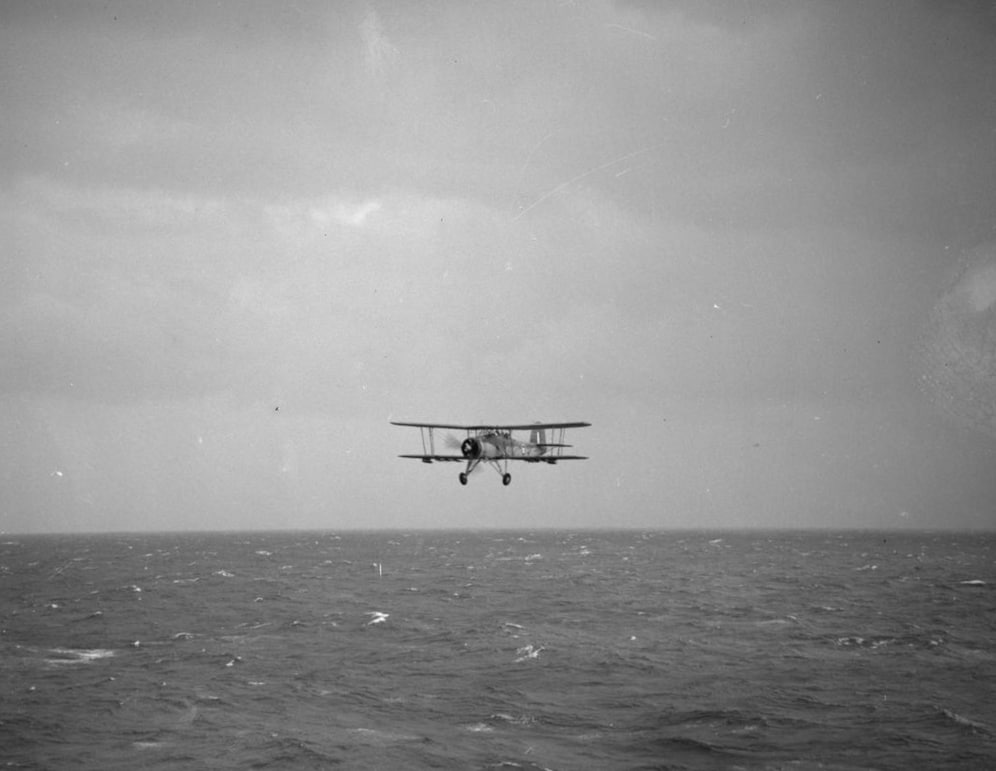
The air strike that made escape impossible
A Swordfish approaches low over a sea broken by whitecaps, its fixed undercarriage hanging beneath the wings. The source identifies it as an Ark Royal aircraft returning after a torpedo attack on Bismarck, and dates the photograph to May 1941. The decisive attack took place on 26 May: torpedo damage jammed Bismarck’s steering and prevented her from maintaining the course needed to escape. The aircraft in this frame is not identified as the one that caused that damage. What the photograph does show is the exposed final part of a carrier sortie, with a small biplane returning across open water after its attack.
Photo details
Date
May 1941 — exact exposure day not specified in the source
Location
Near HMS Ark Royal, North Atlantic
Photographer
Lieutenant S. J. Beadell, Royal Navy official photographer
Public domain under the expired UK Crown copyright status documented on this file’s Wikimedia Commons licensing record (PD-UKGov). Historium retains the supplied framing and monochrome appearance; no aircraft identity or exact exposure date has been invented.
S. J. Beadell / Royal Navy official photographer; Imperial War Museums, A 4100. Digital copy via Wikimedia Commons. Historium: resizing and JPEG/WebP compression.
07 / 08
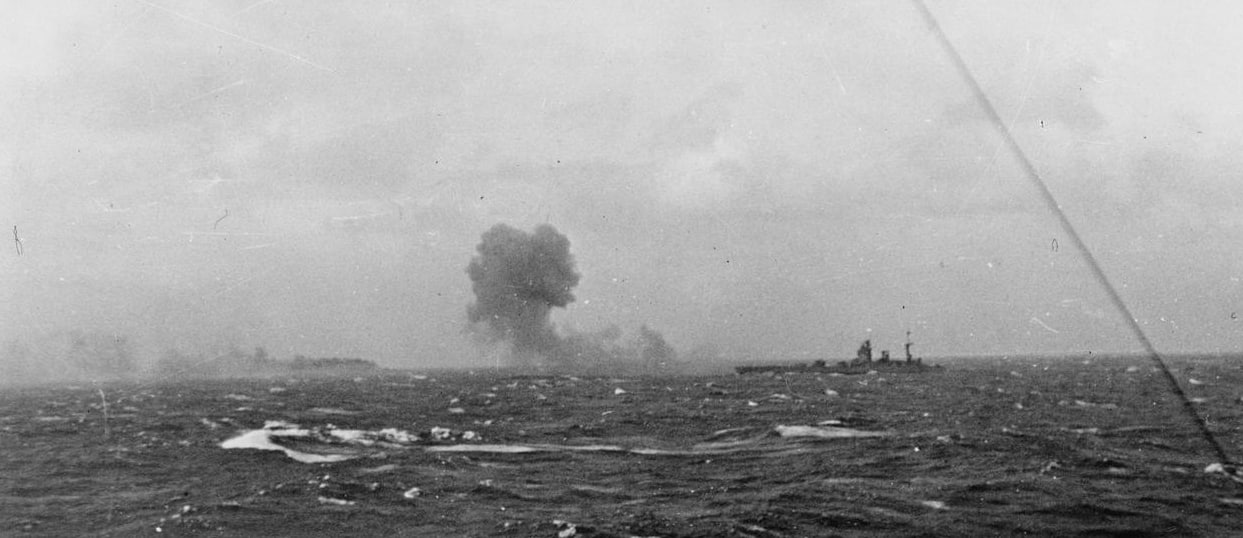
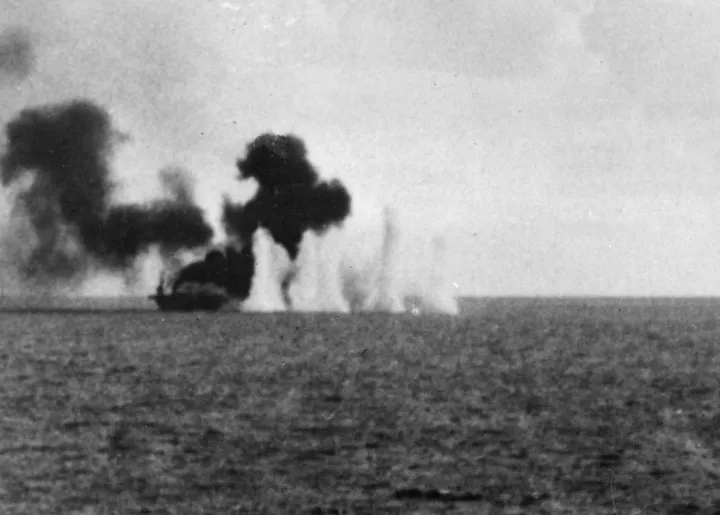
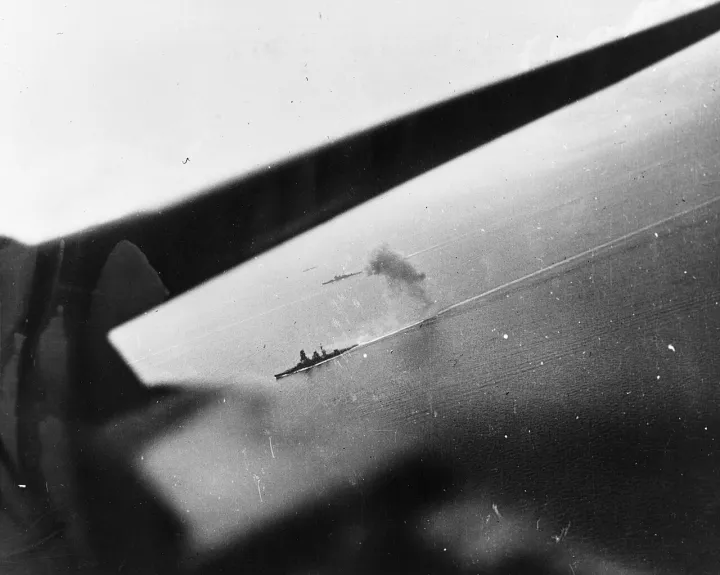
27 May: the chase ends in a gun battle
HMS Rodney is the clearer silhouette at the right; smoke marks Bismarck farther across the water. By the morning of 27 May, the damaged German battleship could no longer escape the British heavy ships closing around her. Rodney and King George V were central to the final bombardment. This distant view is useful because it resists the close, orderly duel often imagined from diagrams: the ships are separated by rough water and obscured by smoke. Bismarck sank later that morning. A single photograph cannot settle the relative effects of shellfire, torpedoes and scuttling; it records one stage of the final action.
Public domain under the expired UK Crown copyright status documented on this file’s Wikimedia Commons licensing record (PD-UKGov). Historium converts the supplied scan to efficient display formats without adding or removing historical detail.
Royal Navy official photographer; Imperial War Museums, MH 15931. Digital copy via Wikimedia Commons. Historium: JPEG/WebP conversion and resizing.
08 / 08
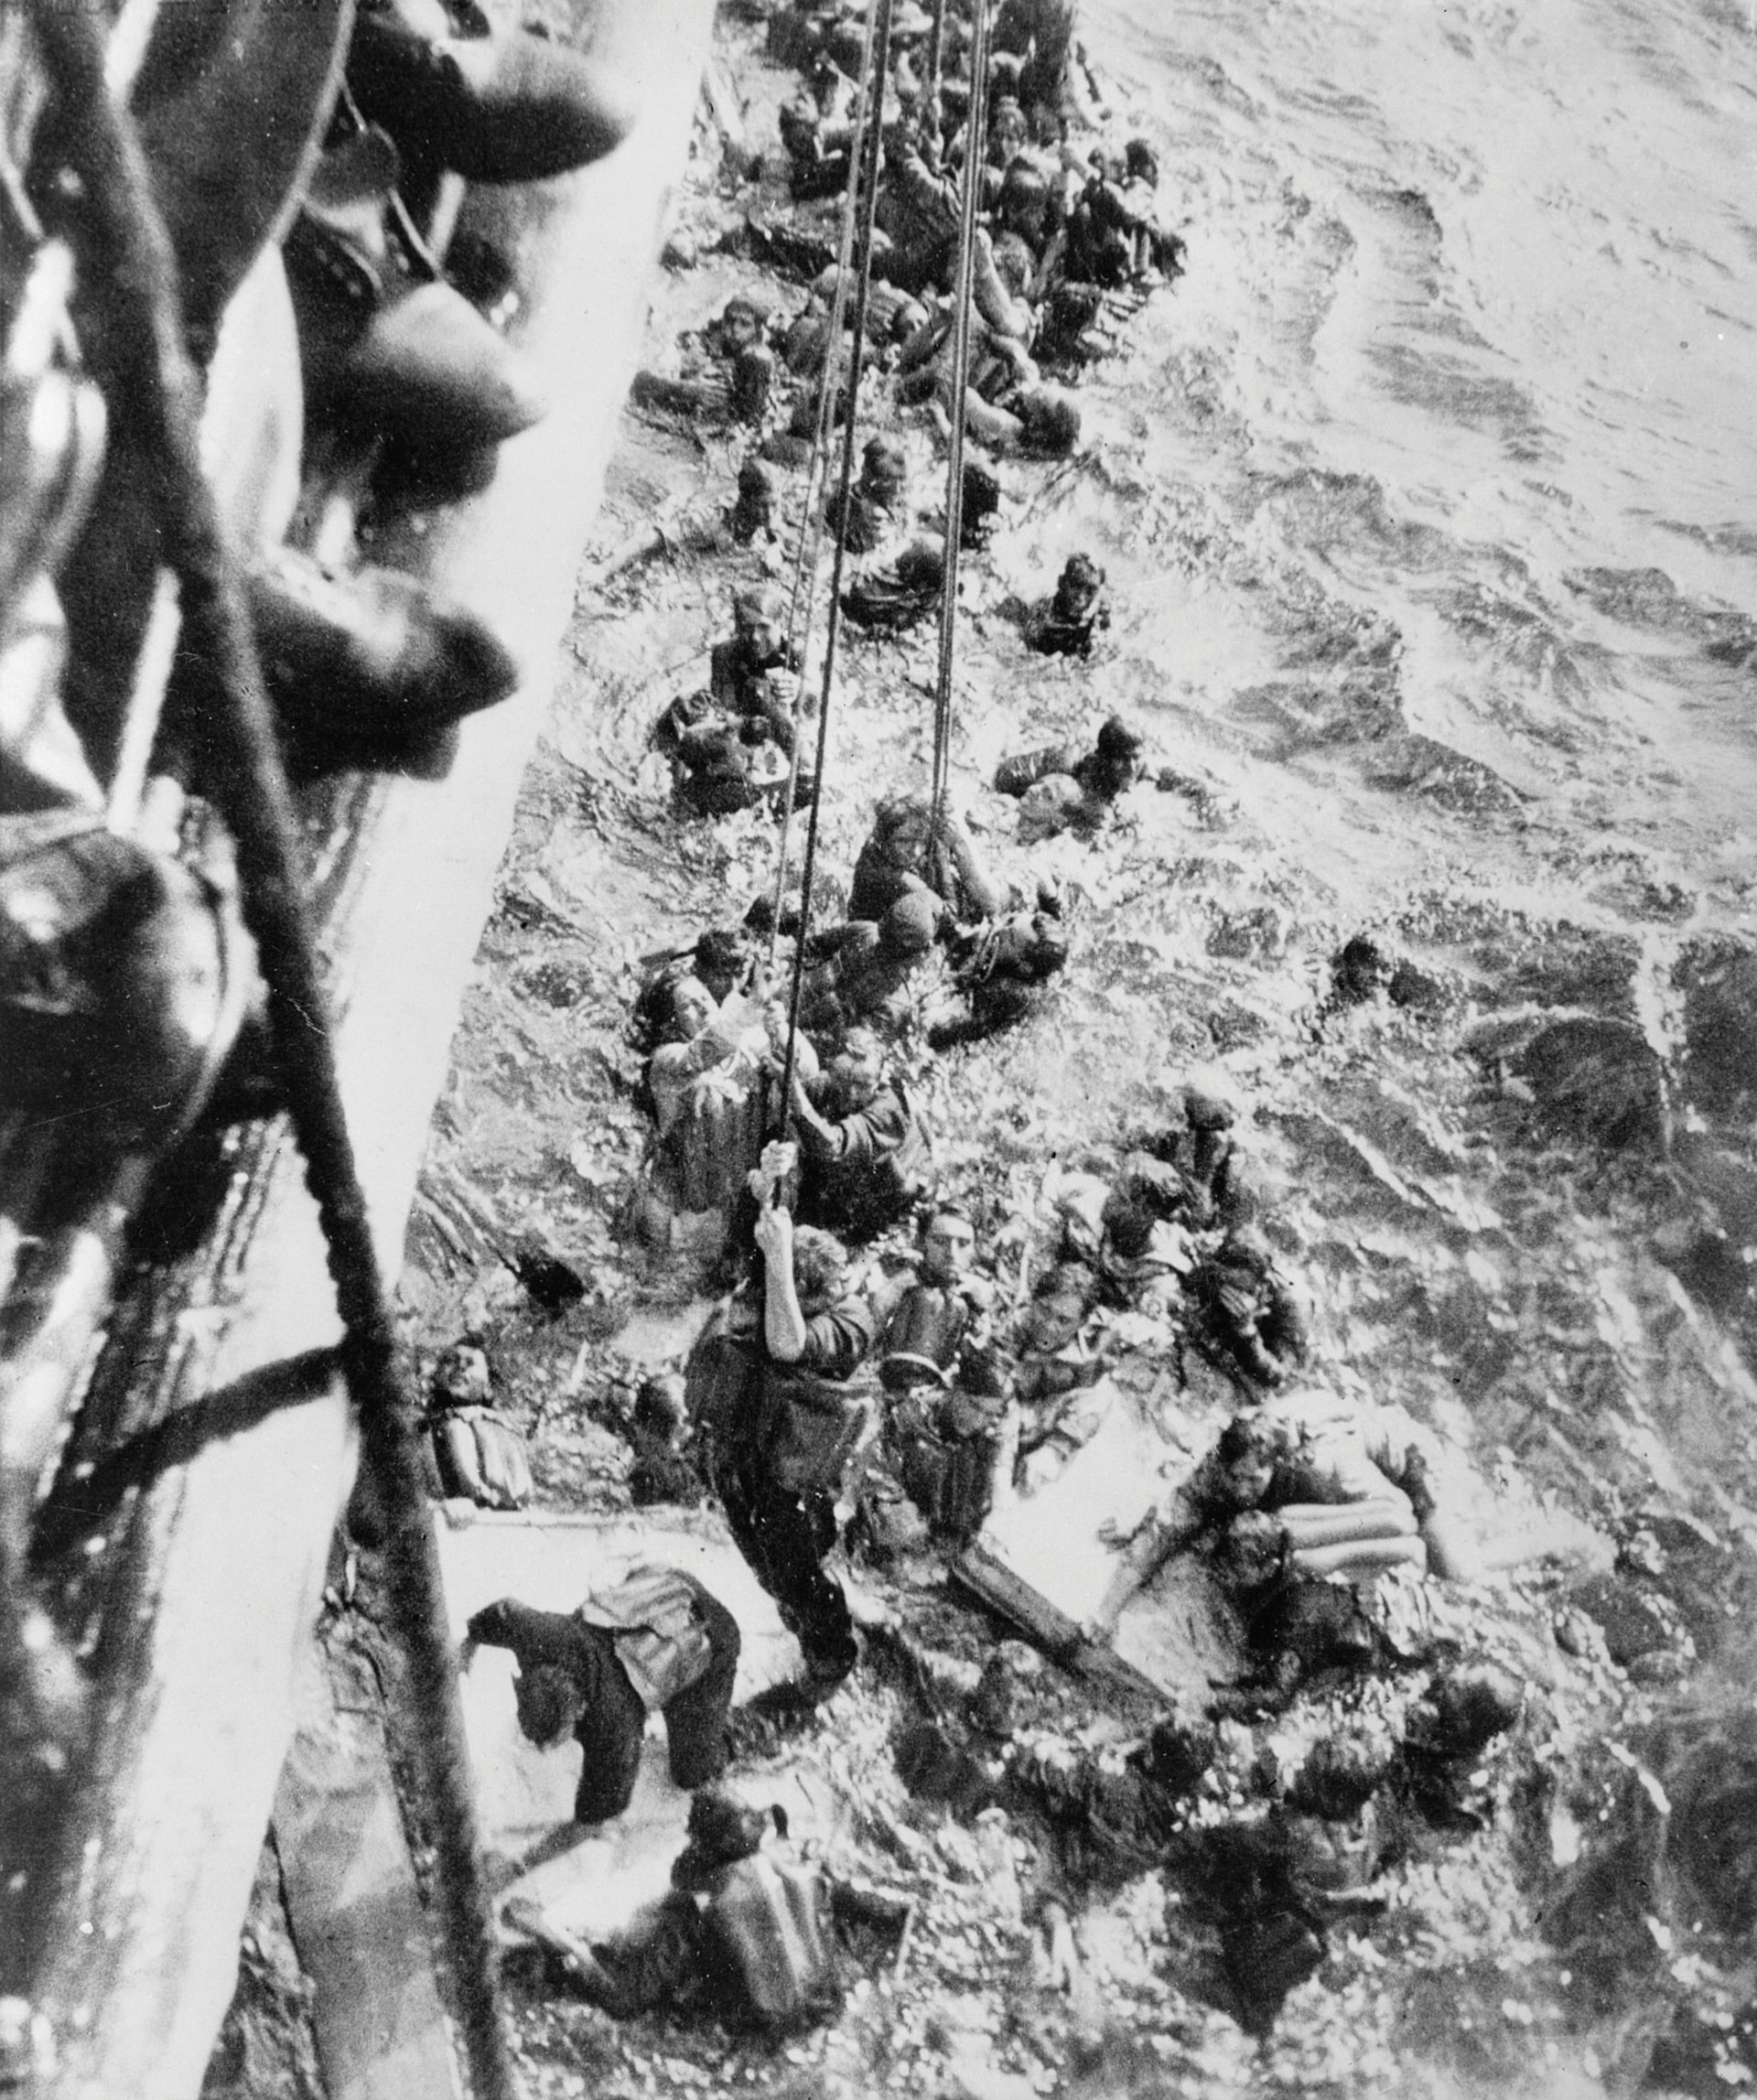
27 May: the men left in the water
The gallery ends at the side of HMS Dorsetshire, where survivors from Bismarck are being brought aboard. The viewpoint compresses the distance between sea and deck into ropes, outstretched arms and individual men. It is a different measure of the battle from the opening portrait of an intact battleship. Dorsetshire had participated in the final action and then helped rescue German sailors. More than two thousand men from Bismarck were lost. Keeping this photograph after the gunfire restores the people to a story often told through armor, speed and tonnage: surviving the sinking still meant getting out of the water and up the side of another ship.
Public domain under the expired UK Crown copyright status documented on this file’s Wikimedia Commons licensing record (PD-UKGov). The scene is an archival rescue photograph; no identities have been inferred from the image.