On October 31, 1917, British Empire forces captured Beersheba at the inland end of the Ottoman defensive line. The Australian mounted charge became the best-known episode of a battle fought throughout the day.
These images show the town, Ottoman horsemen and the infrastructure that made it important. None is presented as a photograph of the charge. Broadly dated 1917 views are grouped before the securely dated aftermath photographs; their exact order within the year cannot be established.
Topic: World War I
01 / 06
The ground before the battle
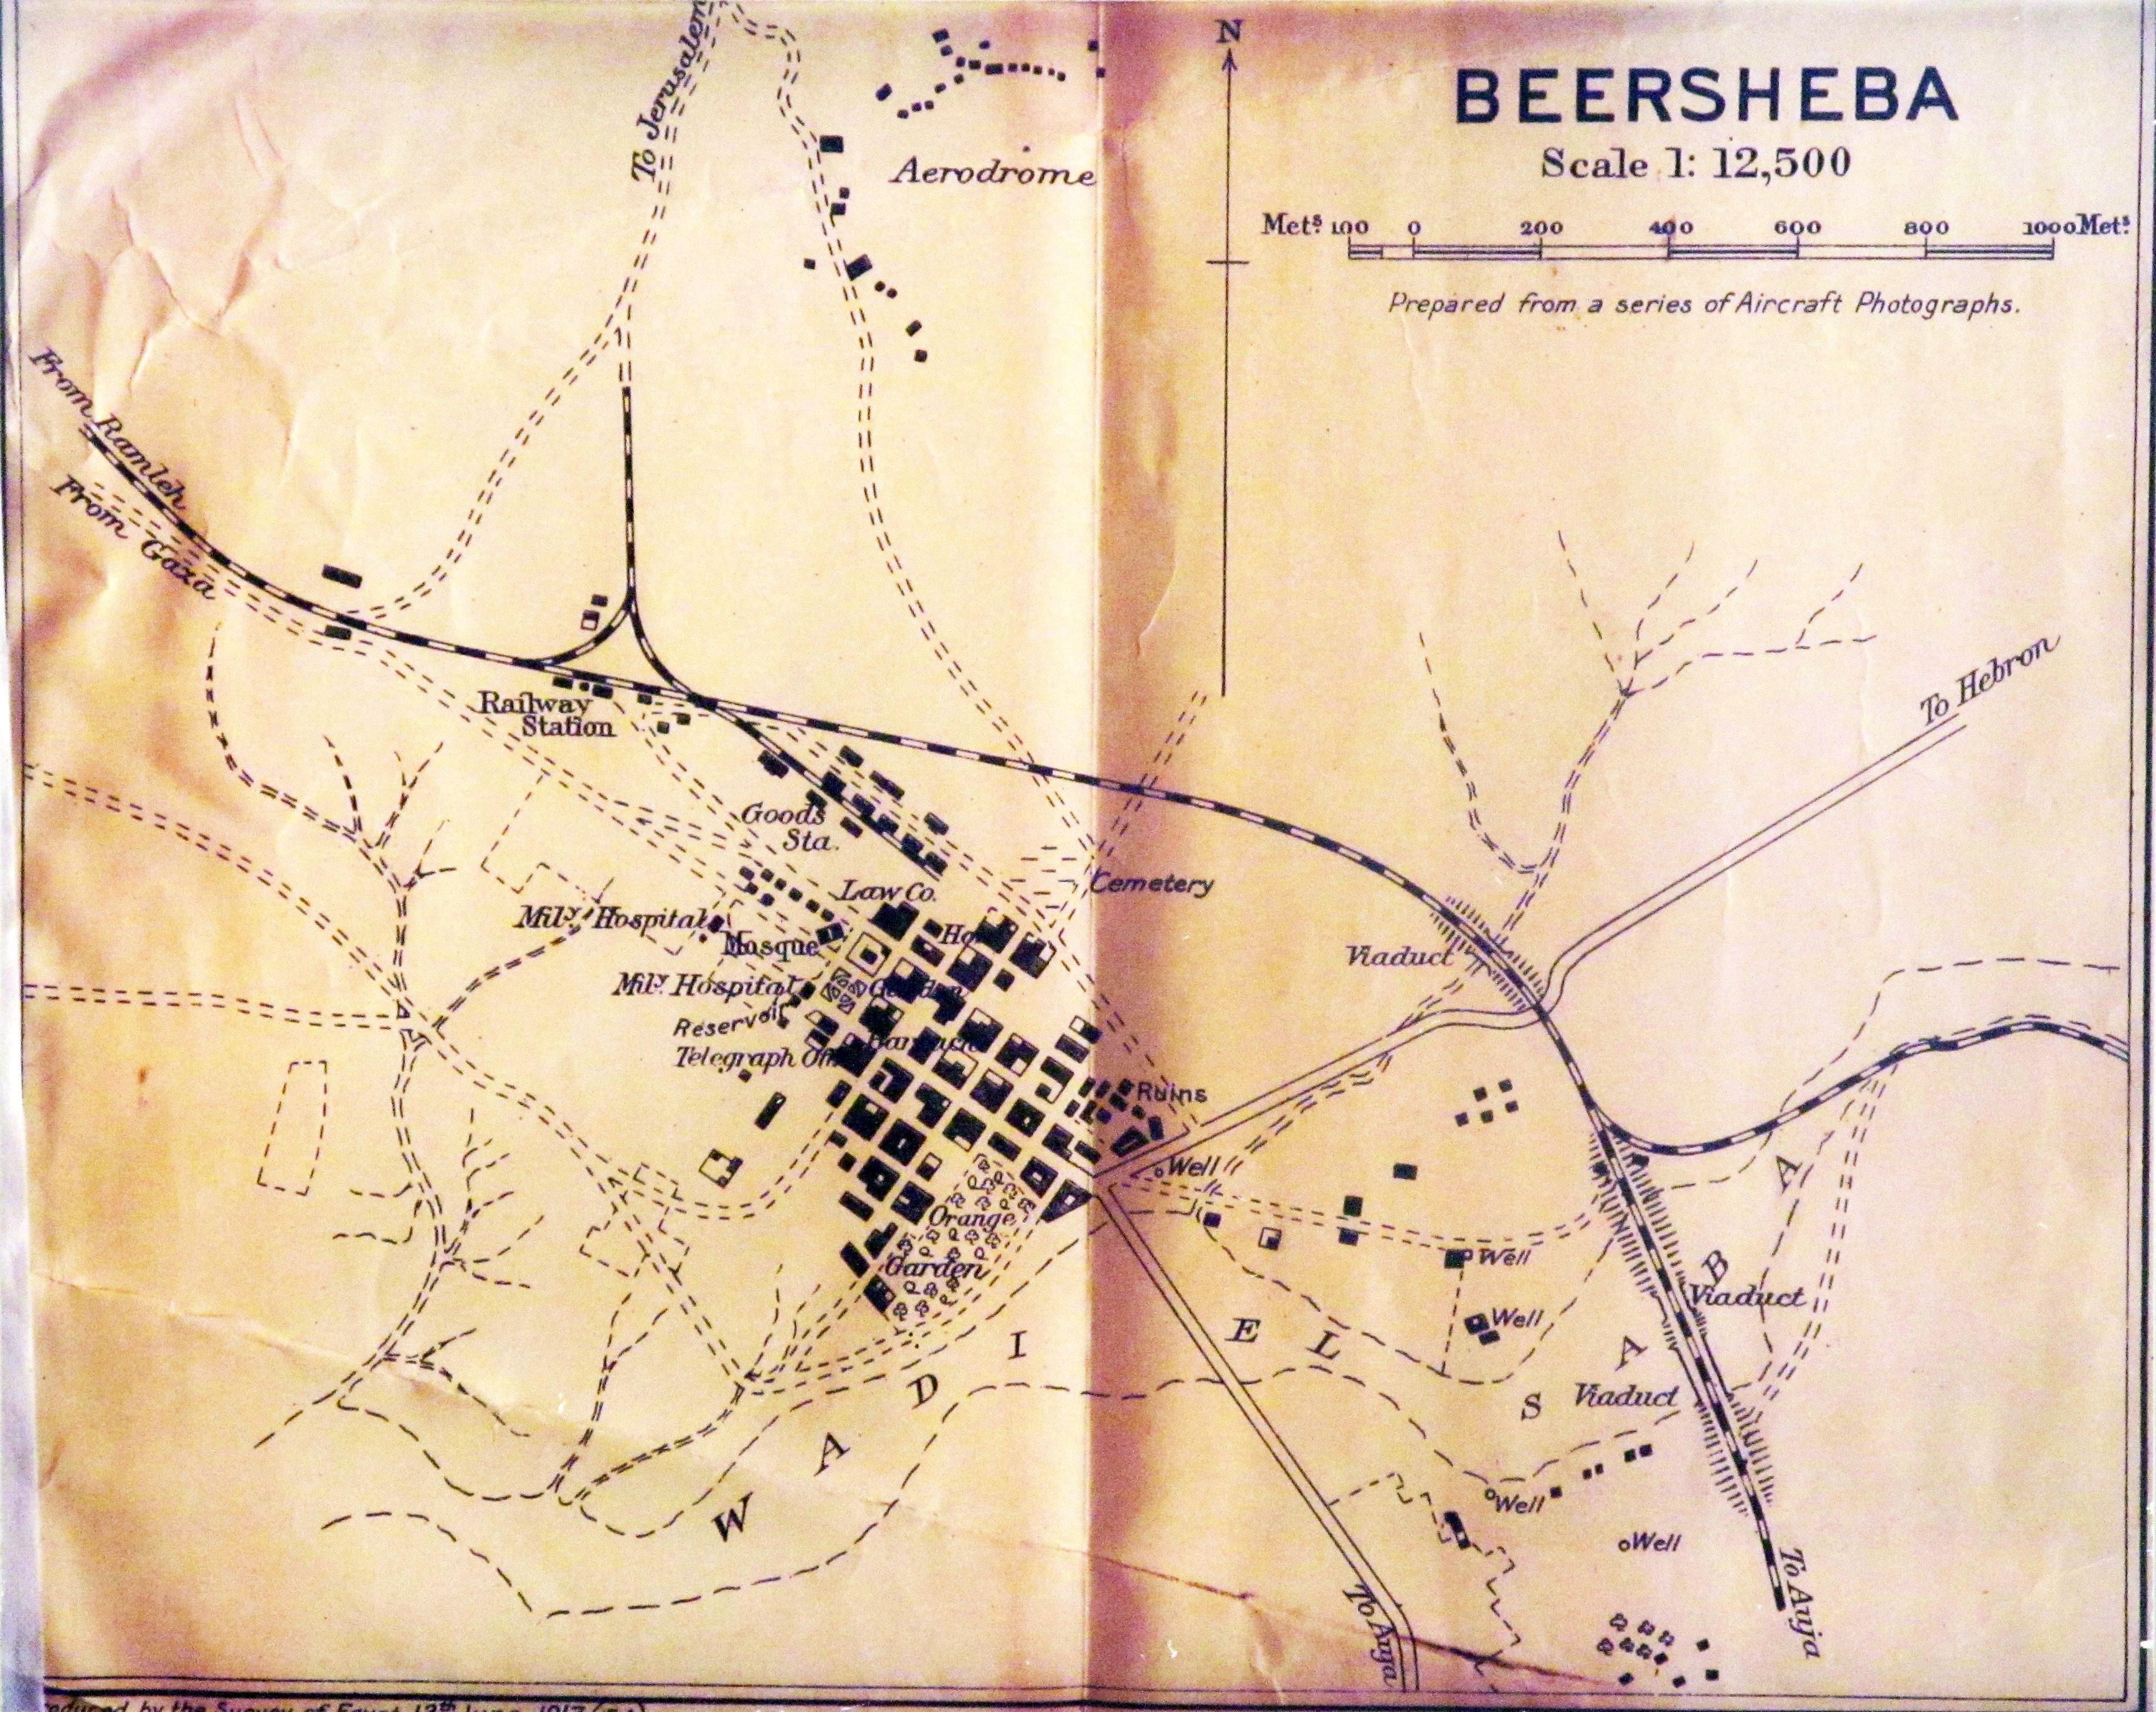
A Survey of Egypt map dated June 13, 1917 places Beersheba in its surrounding terrain. It predates the October assault. Read it alongside the photographs: roads, watercourses and the town’s position help explain why a maneuver around the Gaza defenses led here.
Survey of Egypt; Survey of Egypt; Wikimedia Commons. Public domain; historical government map.
02 / 06
A town at the end of the defensive line
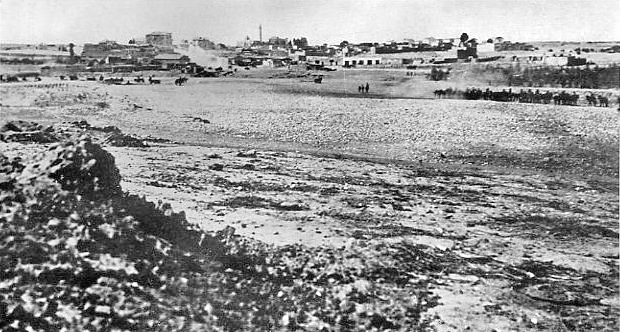
This broad view records Beersheba around 1917. The low buildings and open ground show the place that appears as a point on campaign maps. The photograph is not dated to the charge itself; its value is the townscape against which the operation unfolded.
Photographer unidentified; AWM credit: lent by Brigadier General Wilson; Australian War Memorial, B02371. Public domain; expired Australian copyright.
03 / 06
Beyond the military objective
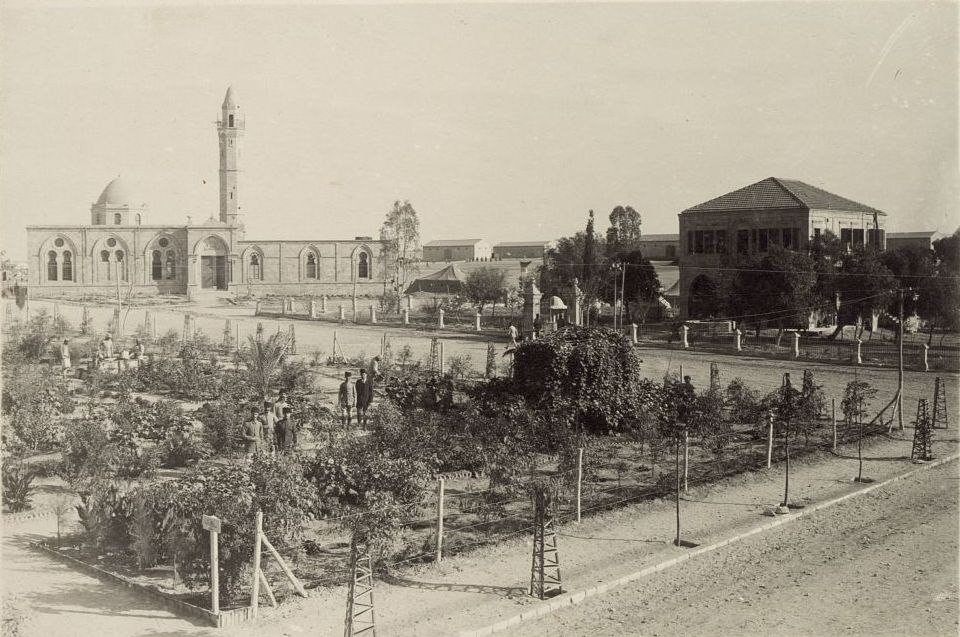
The Great Mosque and its surroundings appear in this 1917 view from the Library of Congress collection. Beersheba was a lived-in Ottoman town, not simply a set of wells and trenches. The catalog supplies a year, not a precise day, so the scene cannot be assigned to October 31.
Photographer unidentified; Library of Congress, album ppmsca.13709. Public domain as identified in source record; historical Matson collection image.
04 / 06
Ottoman horsemen on the western approaches
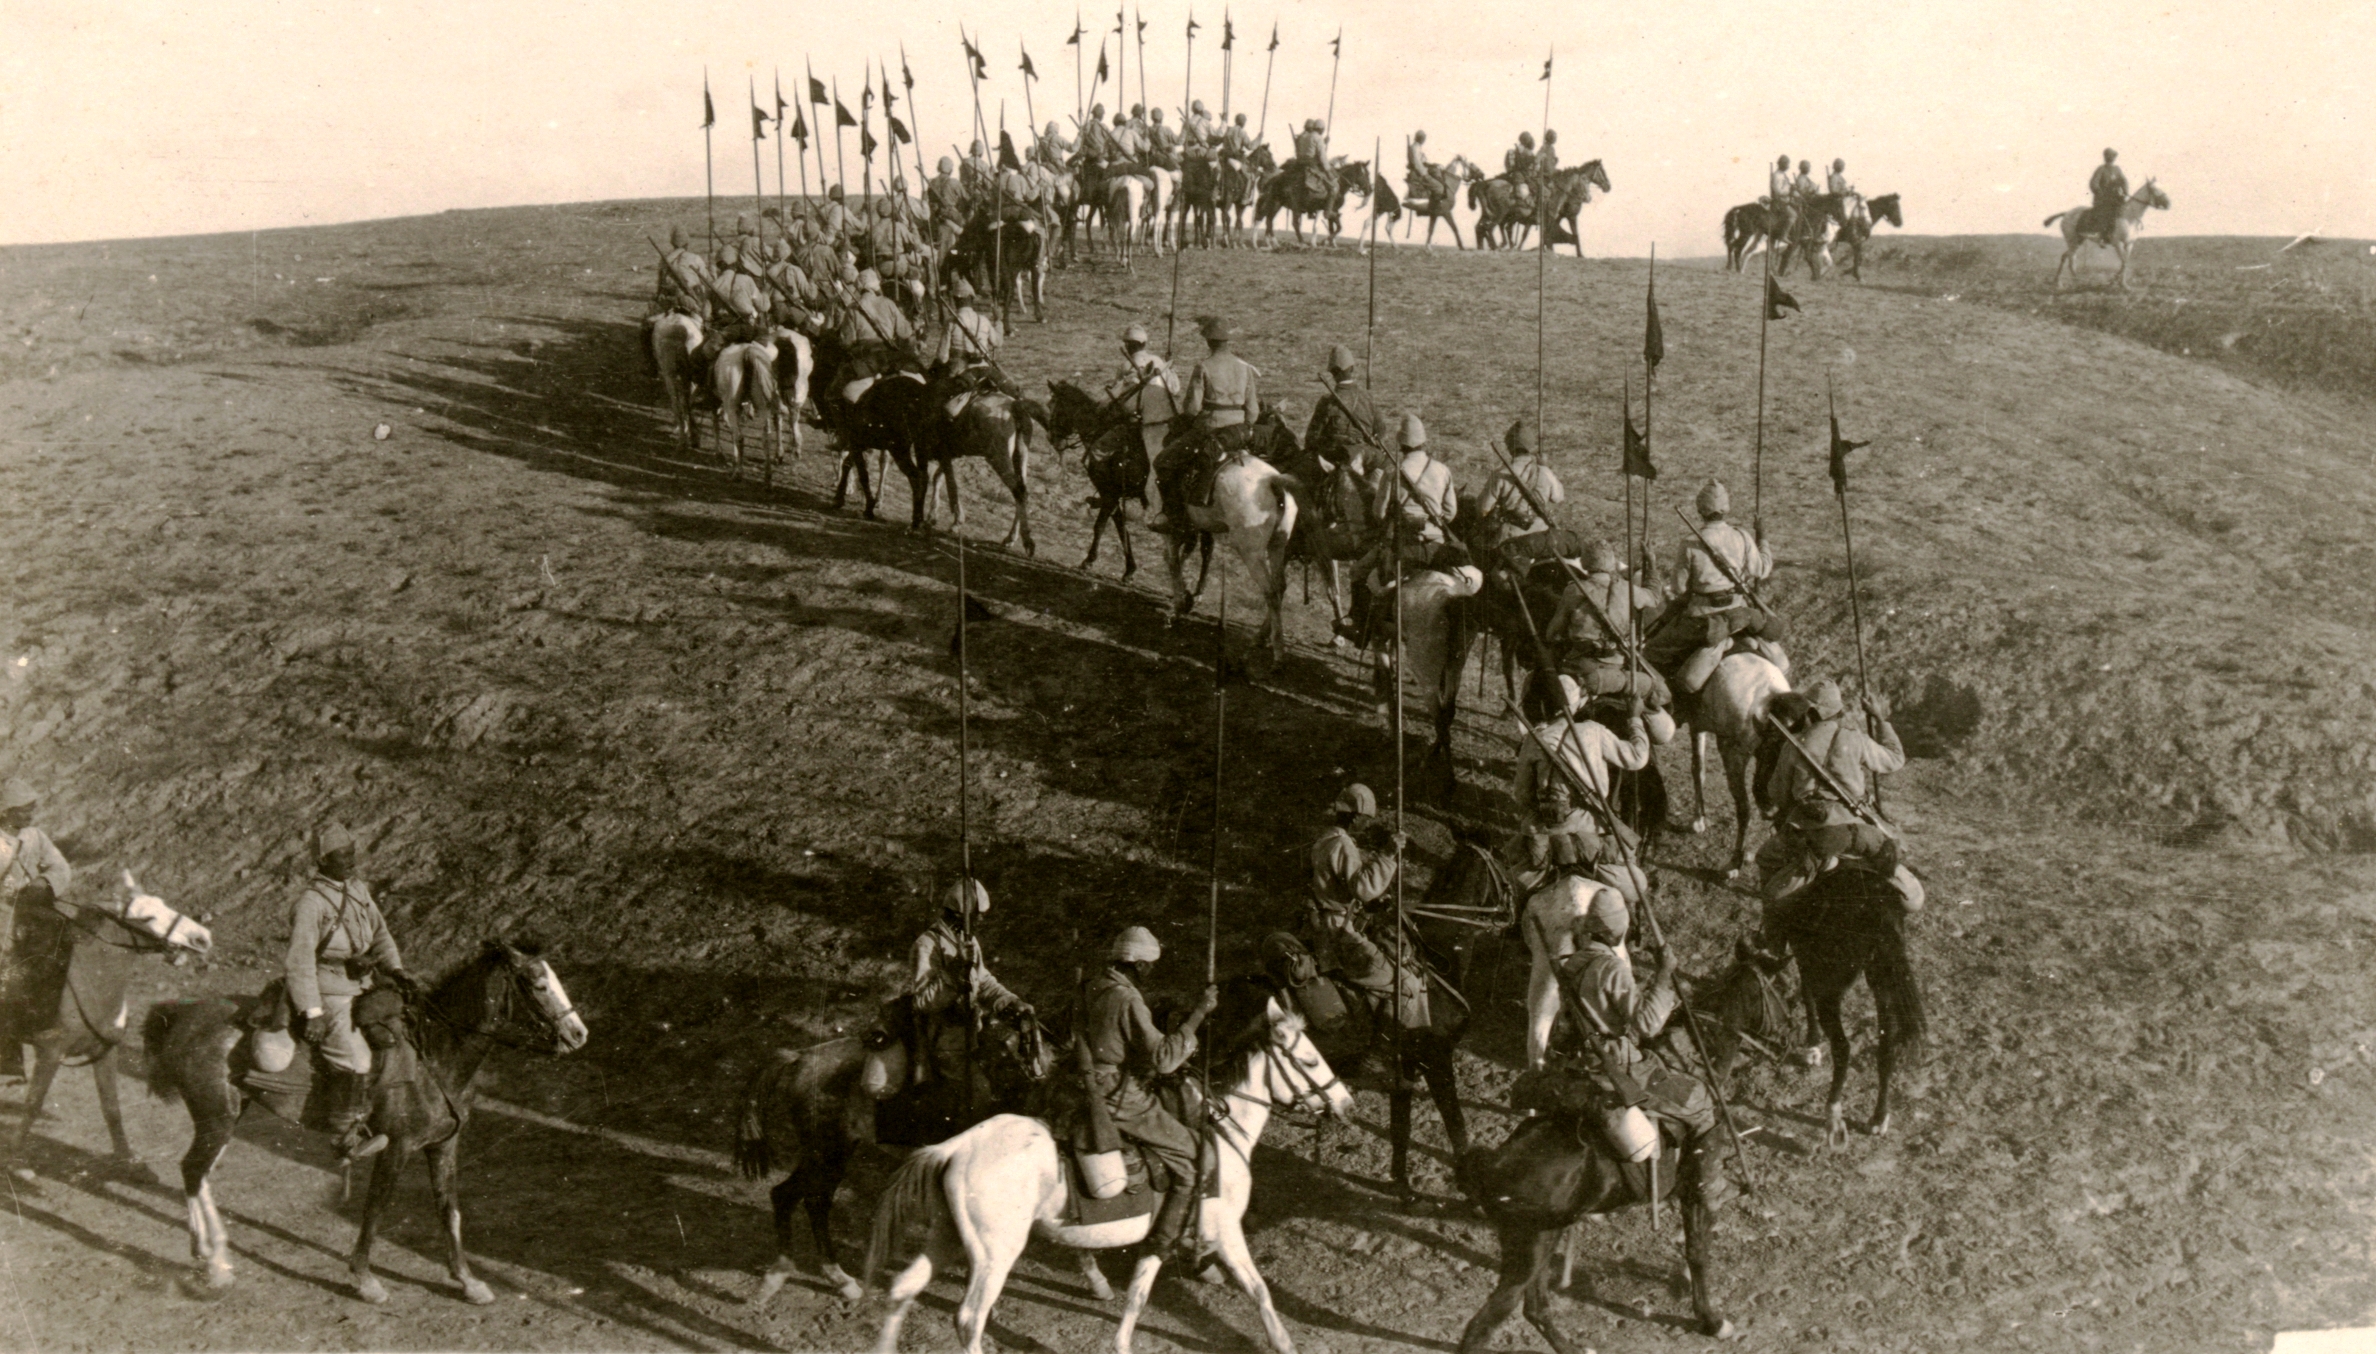
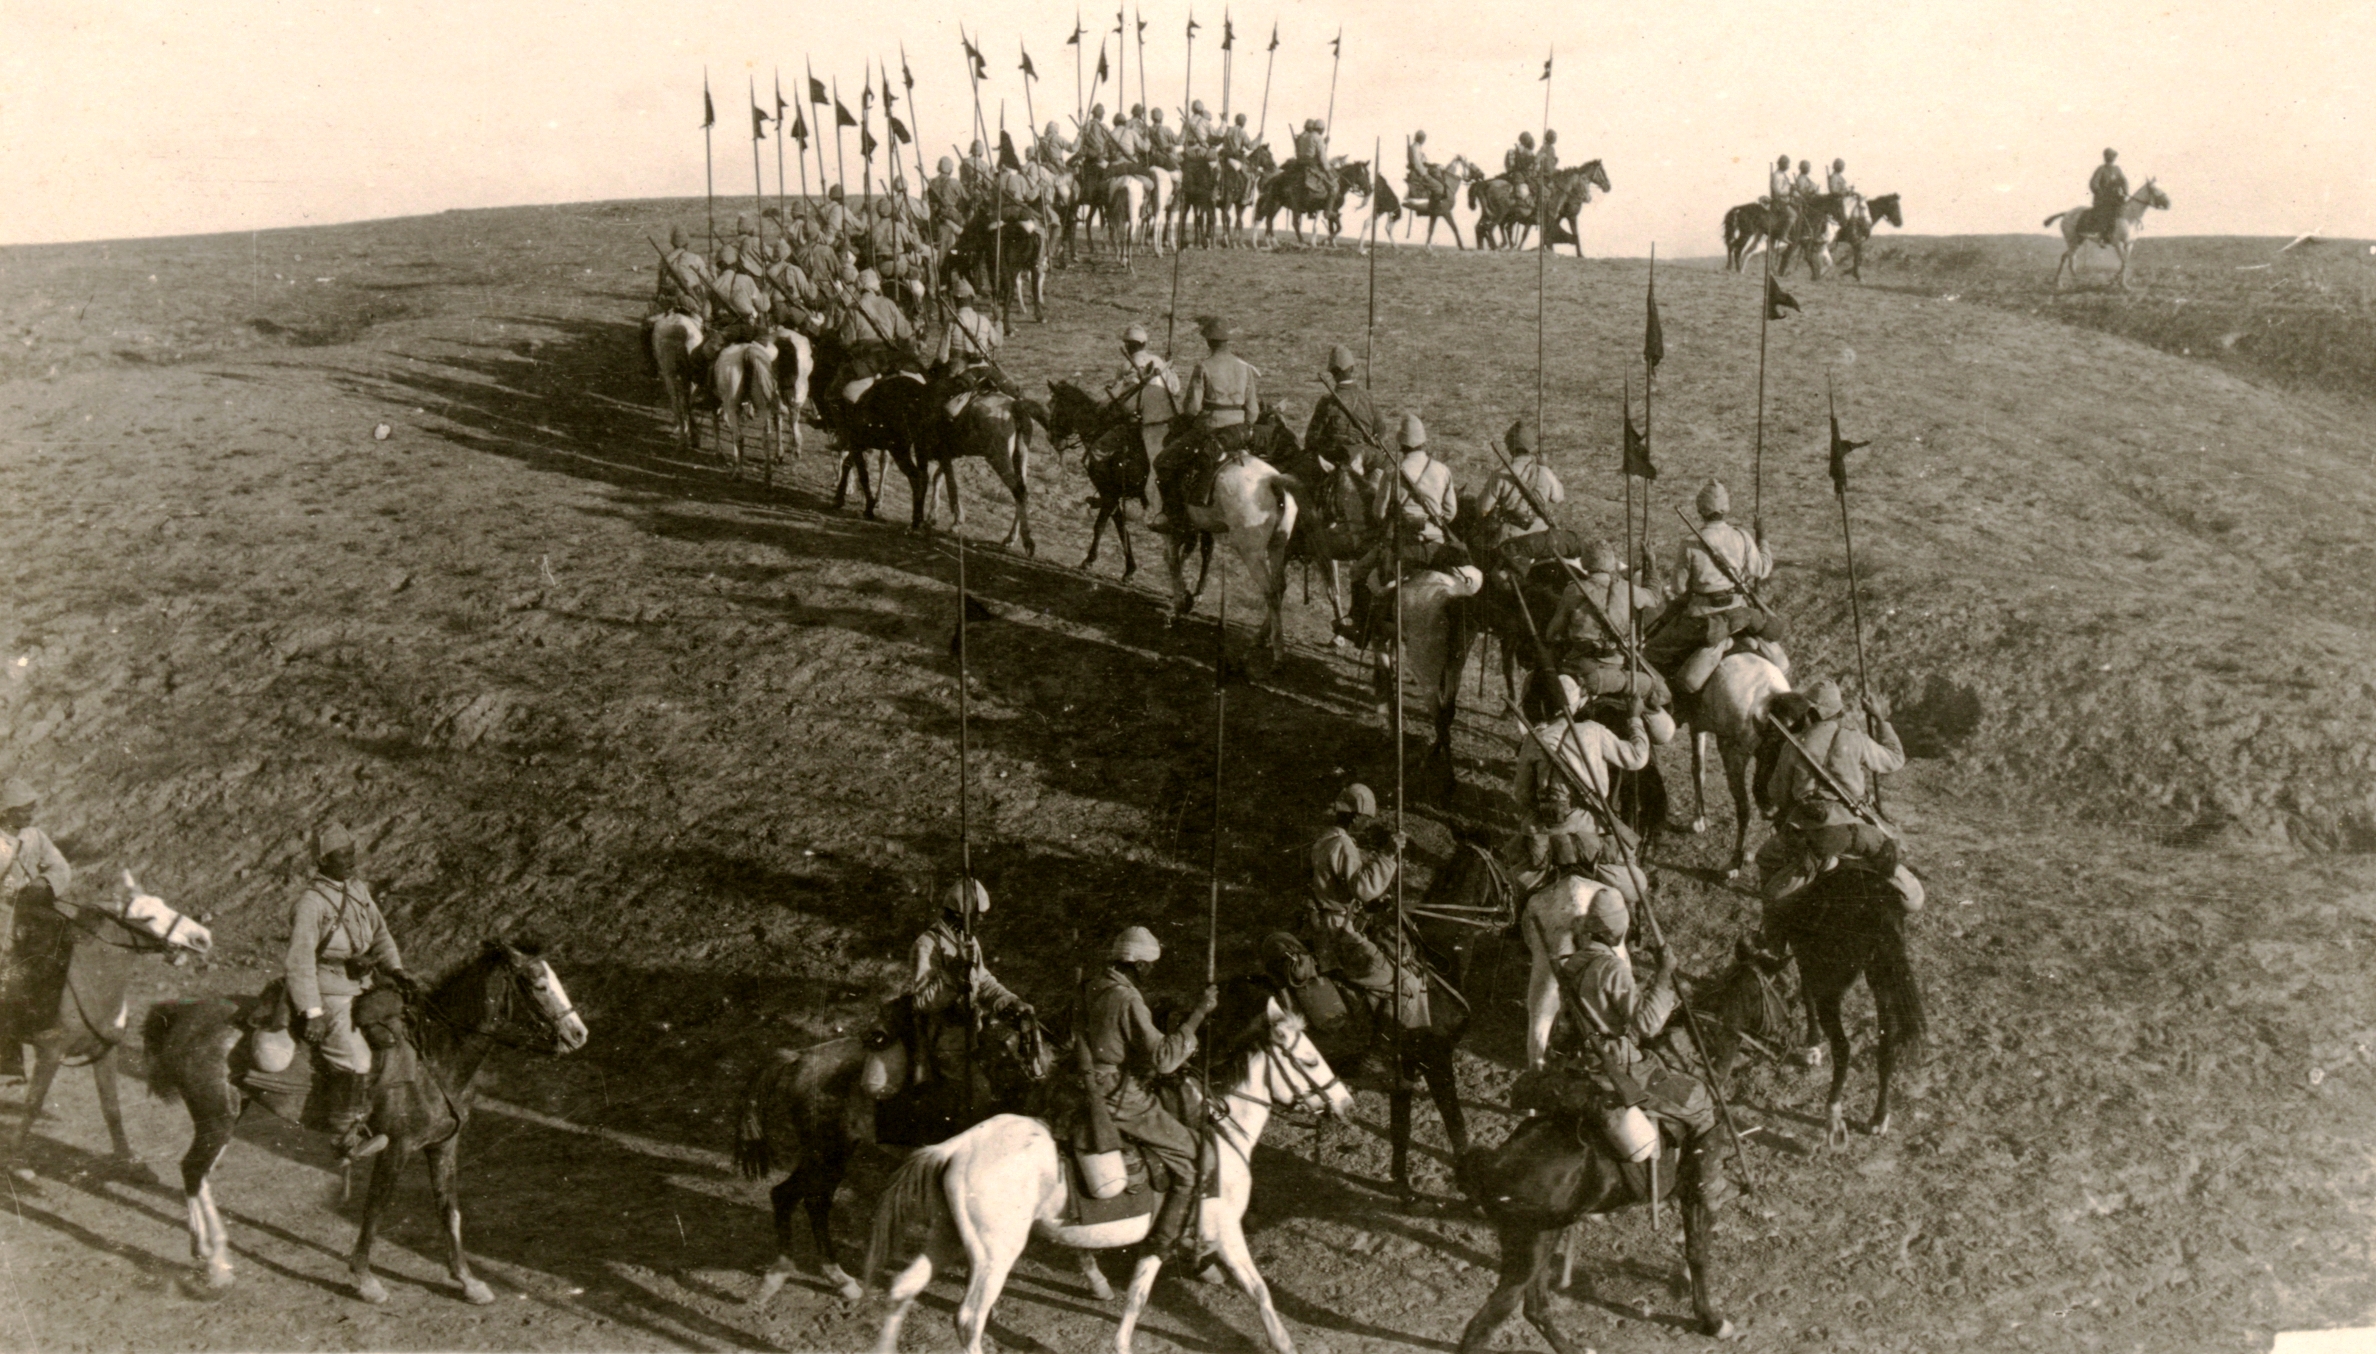
The catalog identifies these men as Ottoman lancers west of Beersheba in 1917. They should not be confused with the Australian light horsemen who charged on October 31. Both armies used mounted troops, but this image belongs to the Ottoman side of the town’s wartime record.
American Colony photographic team; individual photographer not established; Library of Congress, Matson Collection, ppmsca.13709. No known copyright restrictions, Library of Congress Matson Collection.
05 / 06
Water after the capture
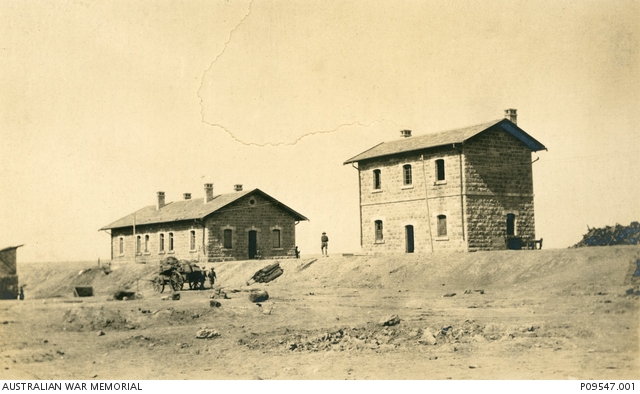
Photographed on November 1, the pumping station stands in front of the railway station. This is the day after the battle. The unglamorous structures give the story its practical scale: capturing a town helped the advance only if men could draw water and bring supplies forward.
Photographer unidentified; Australian War Memorial, P09547.001. Public domain; expired Australian photographic copyright.
06 / 06
The railway survived
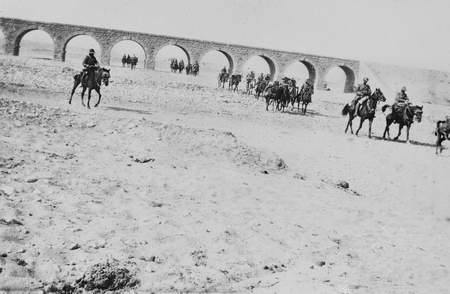
George S. Stewart photographed mounted men below Beersheba’s railway bridge in November 1917. The archive cautiously identifies them as possibly belonging to the 4th Light Horse Regiment. The bridge remained intact after the town’s capture. This is an aftermath photograph, not a picture of the charge.