The Australian mounted charge that followed gave the battle its enduring image. Yet the riders did not arrive on an empty battlefield. British infantry, artillerymen, airmen and New Zealand mounted troops had been fighting throughout the day. Their work made the final assault possible.
A different approach after Gaza
The Ottoman line ran inland from Gaza to Beersheba. Frontal attacks on Gaza in March and April 1917 had failed. The next offensive sought to turn the line by taking its eastern end, rather than repeat the same approach against the coastal defenses. British XX Corps attacked from the south and southwest while mounted formations moved around the town's eastern side.
Water imposed a deadline on this maneuver. A mounted force could travel quickly across country, but its horses could not remain indefinitely away from reliable supplies. Capturing Beersheba after its wells had been destroyed would have been a much less useful success. The town's infrastructure was part of the objective, not a detail to consider afterward.
The hill before the charge
East of Beersheba, the Ottoman position at Tel el Saba held up the advance. New Zealand mounted riflemen fought for approximately six hours before securing the hill. Their units generally rode to battle and then fought on foot. Calling every formation in the operation cavalry can hide how the fighting actually worked.
Only after this position fell could the next attack go forward with a more secure approach. The familiar story of horsemen racing toward the town compresses a long, contested day into its last dramatic movement. Beersheba was a combined operation, and the New Zealand contribution belongs in the center of the account.
Riding through the defenses
Lieutenant General Harry Chauvel ordered Brigadier General William Grant's 4th Light Horse Brigade to make a mounted assault. The 4th and 12th Light Horse Regiments advanced toward trenches that lacked a continuous obstacle of barbed wire. They carried bayonets in their hands; they had not been issued the cavalry swords that later paintings can lead a viewer to imagine.
The riders crossed the open ground at speed. Some dismounted at the defenses and fought their way through. Others continued into town. Lieutenant Colonel Donald Cameron's after-action report, preserved by the Australian War Memorial, records the sequence of orders and movements. It is a useful counterweight to the impression that the charge was simply an irresistible rush.
The two Australian regiments lost 31 men killed and 36 wounded. They took hundreds of prisoners and secured water supplies. Those figures describe the charge, not the losses of every formation engaged in the wider battle.
What the photographs can show
The surviving images are strongest on the landscape, the troops and the infrastructure. A photograph dated November 1 shows the pumping station beside the railway. Another, taken that November, places mounted soldiers beneath an undamaged Ottoman railway bridge. These are records of the setting and aftermath, not camera views of the gallop itself.
Beersheba's capture opened a way around the Gaza position, but it did not finish the campaign. Further fighting followed before the Ottoman withdrawal from Gaza. The victory's importance lay in that opening—and in the water that allowed the pursuing forces to use it.
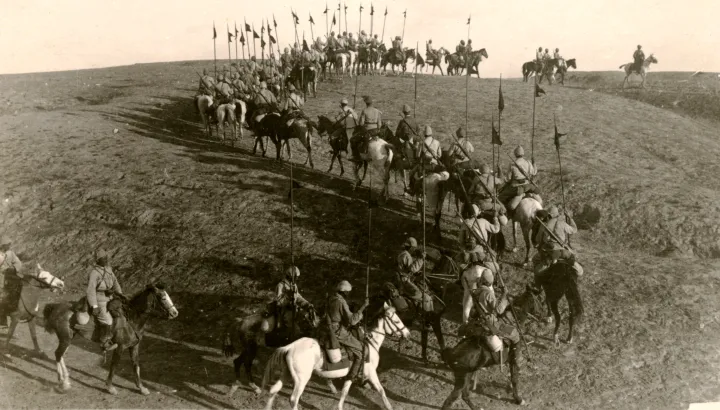
Cover photograph: Ottoman lancers, 1917. Library of Congress, Matson Collection; no known copyright restrictions. Context photograph, not the Australian charge. Archive record linked under Sources.